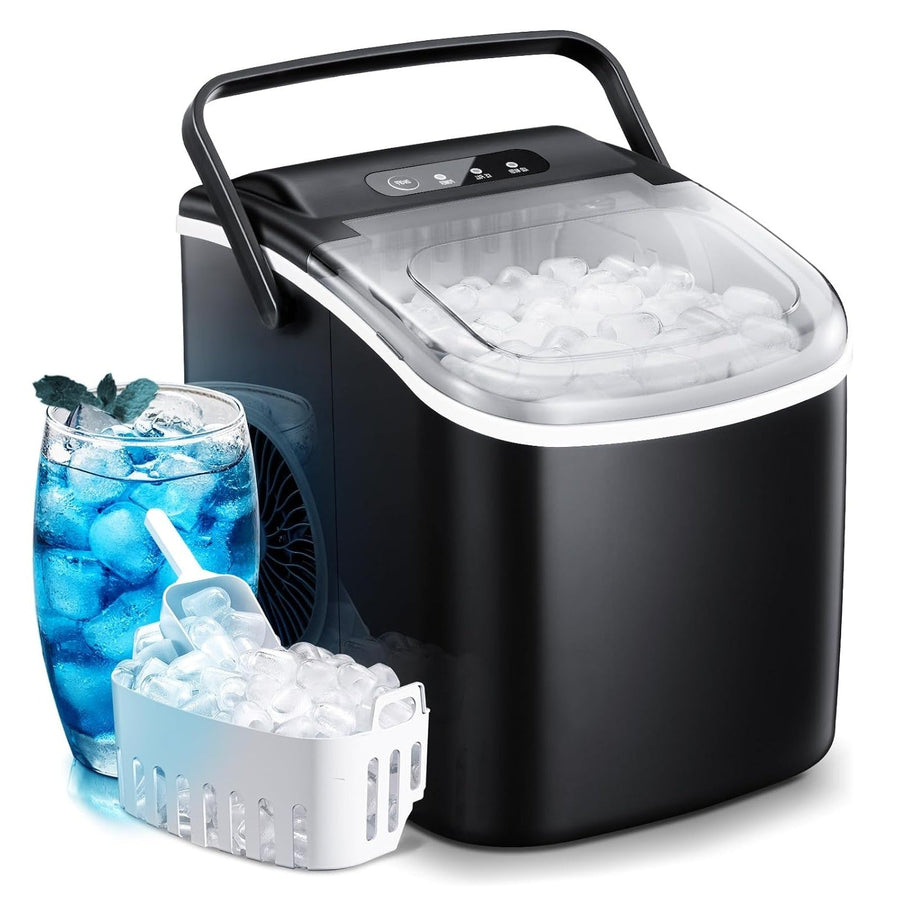
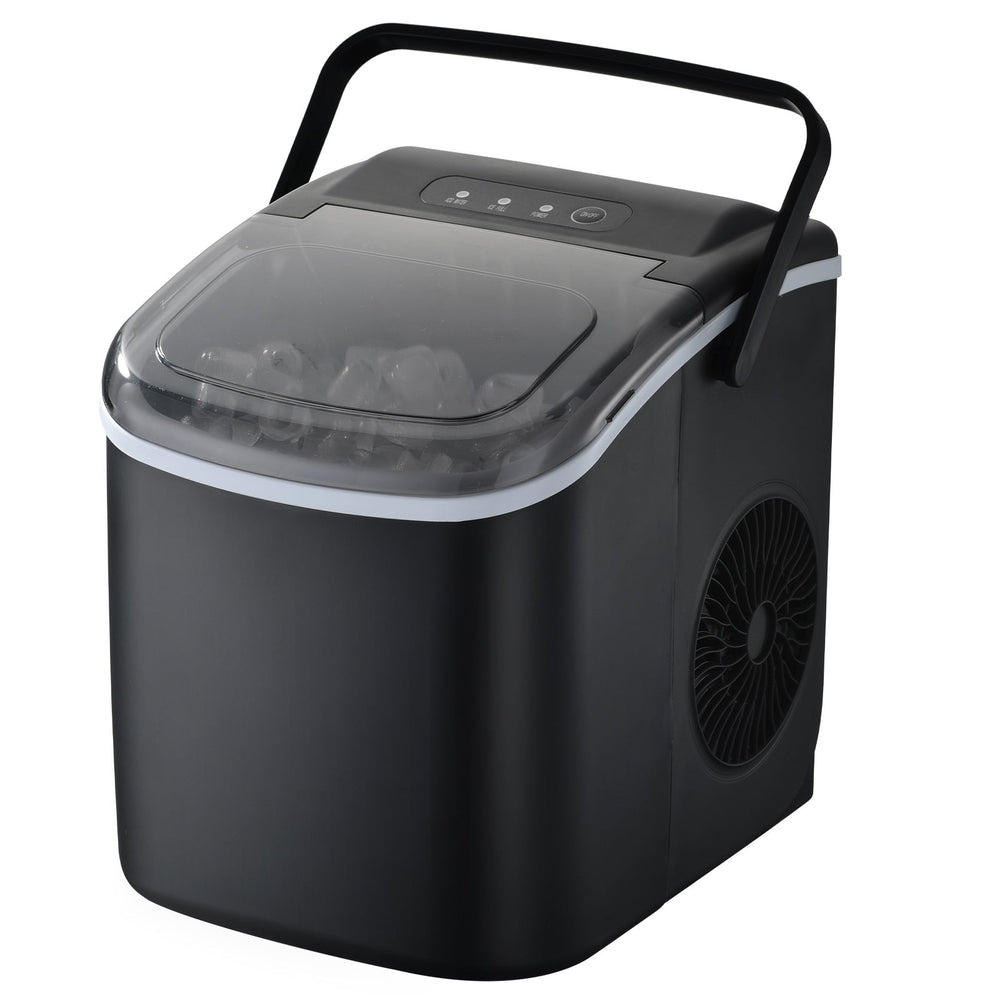
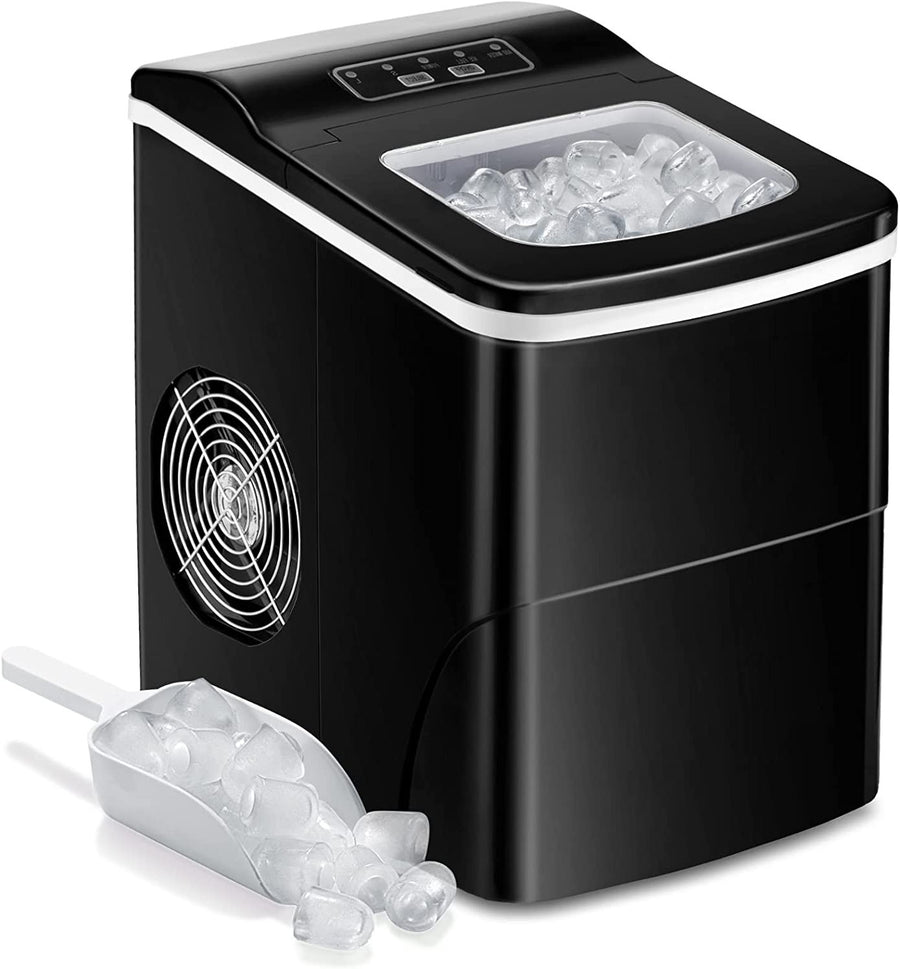
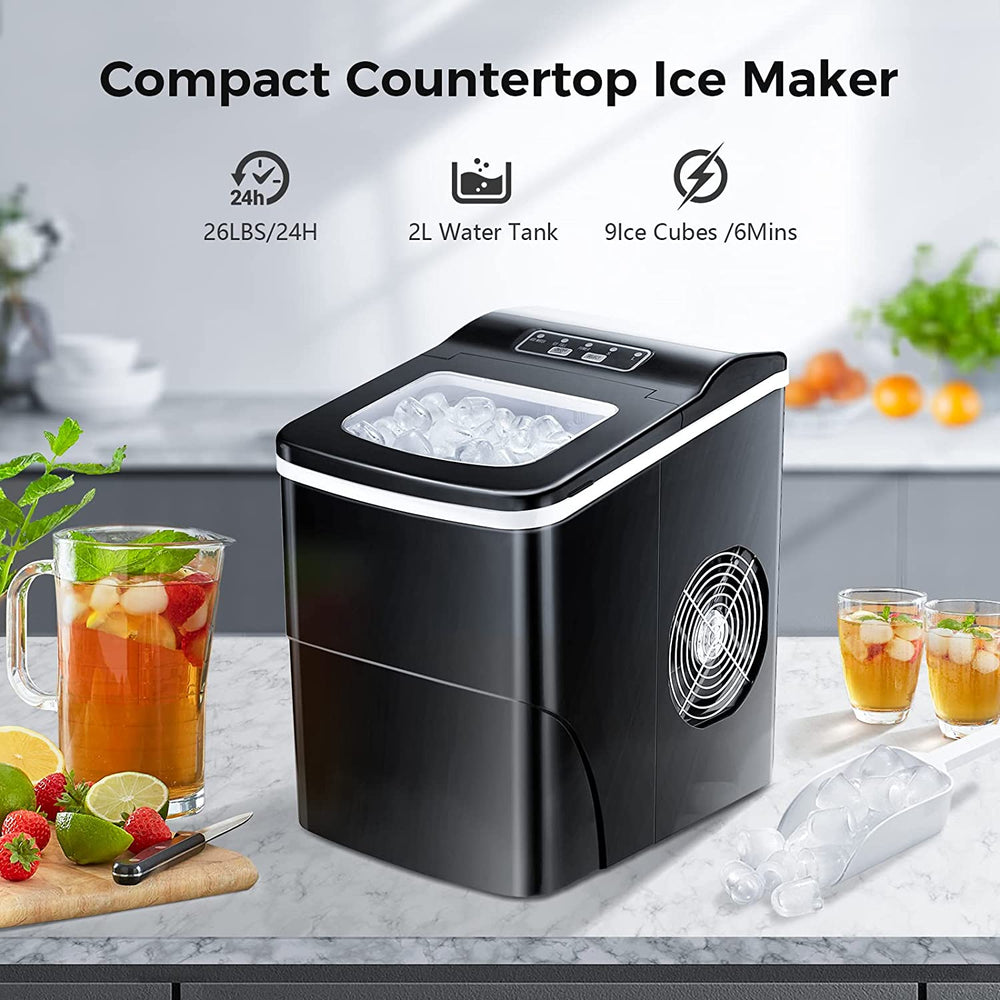
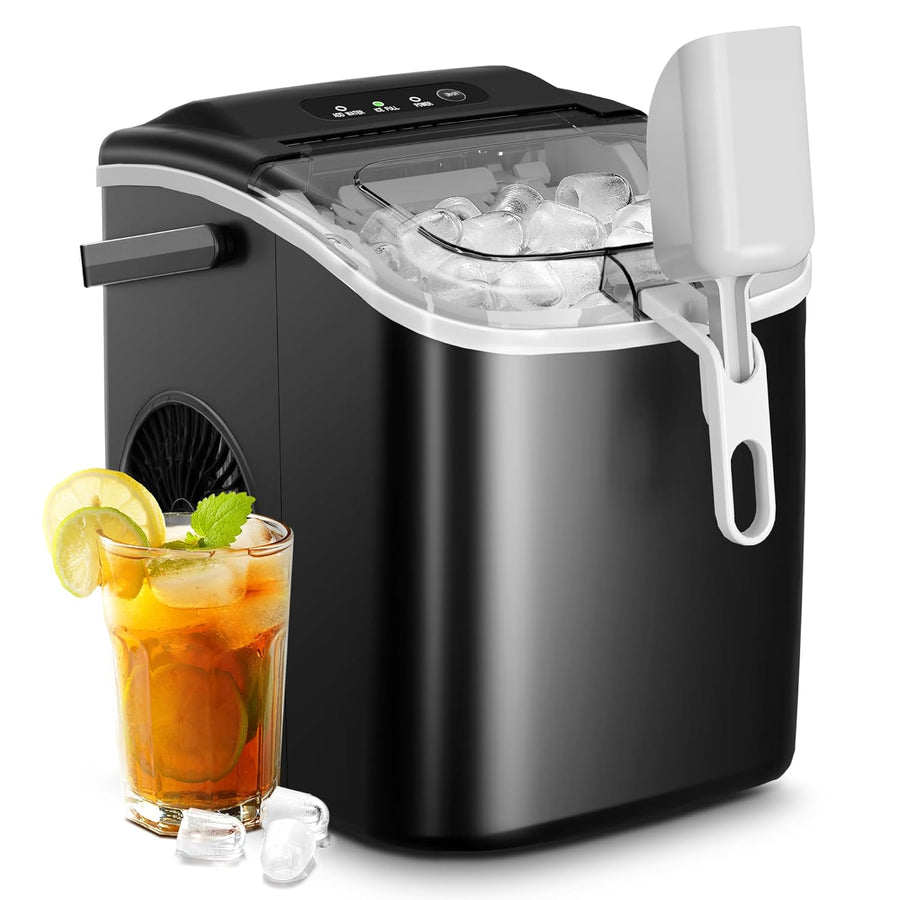
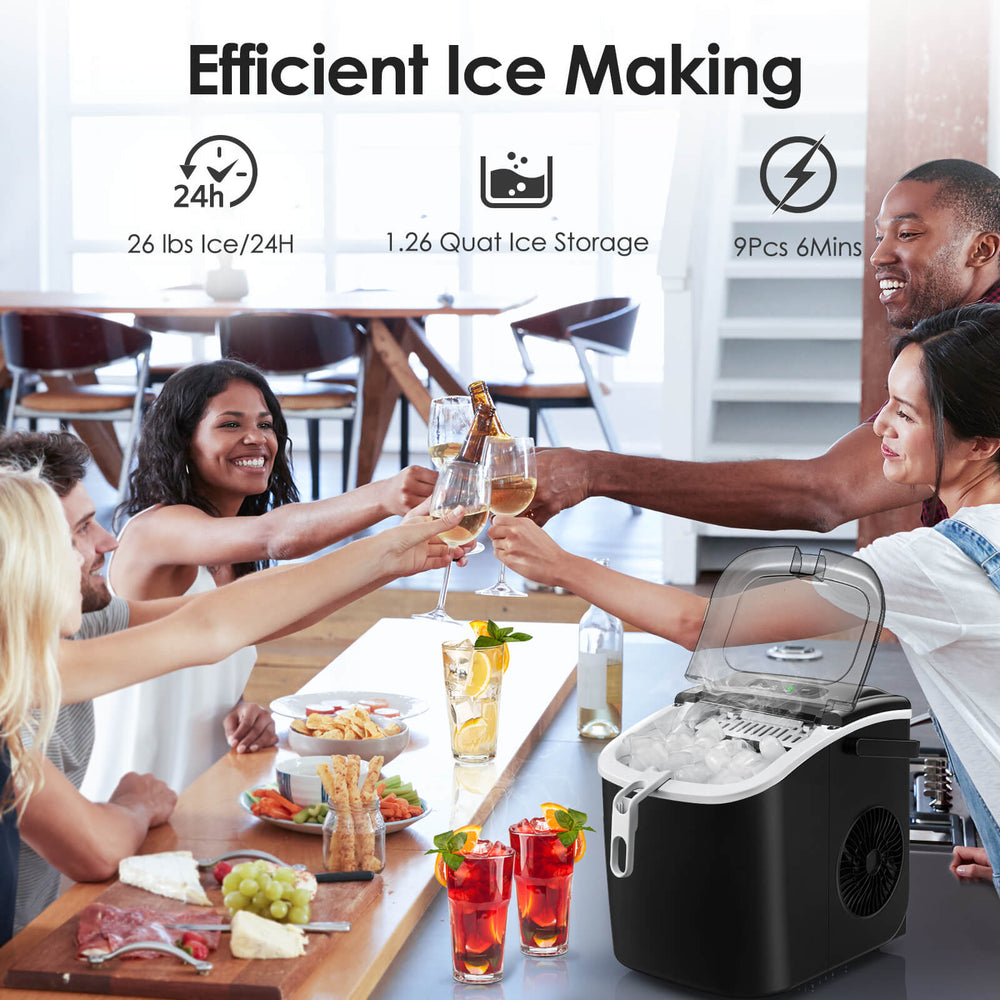
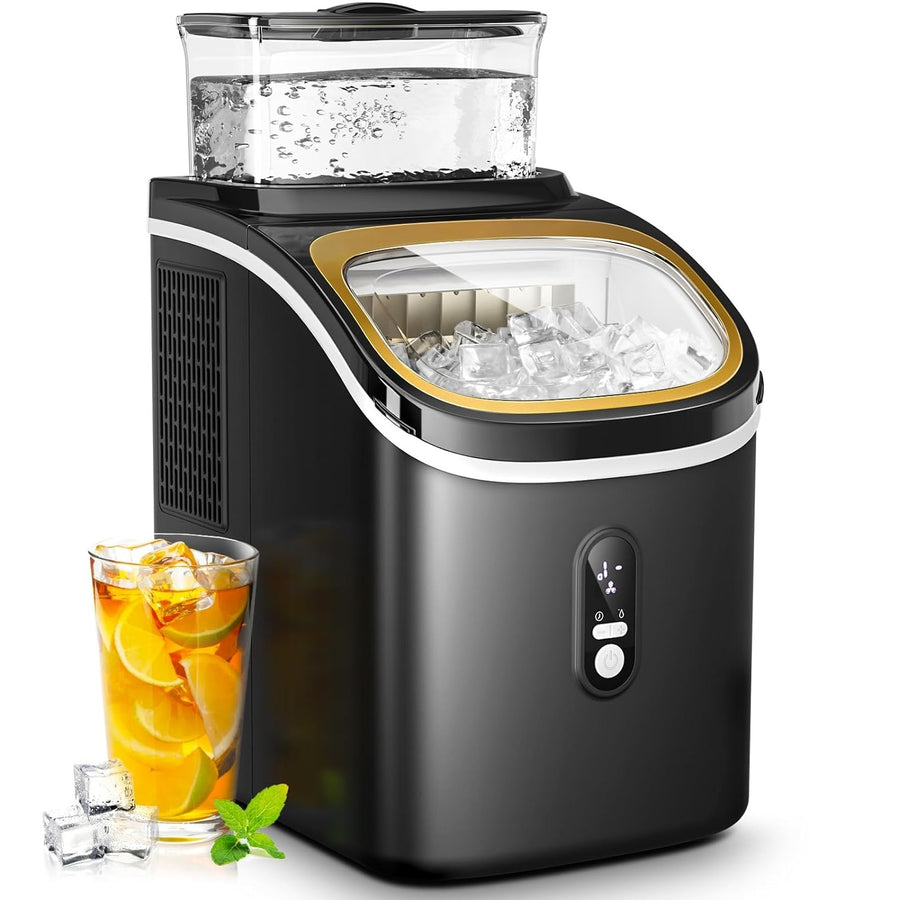
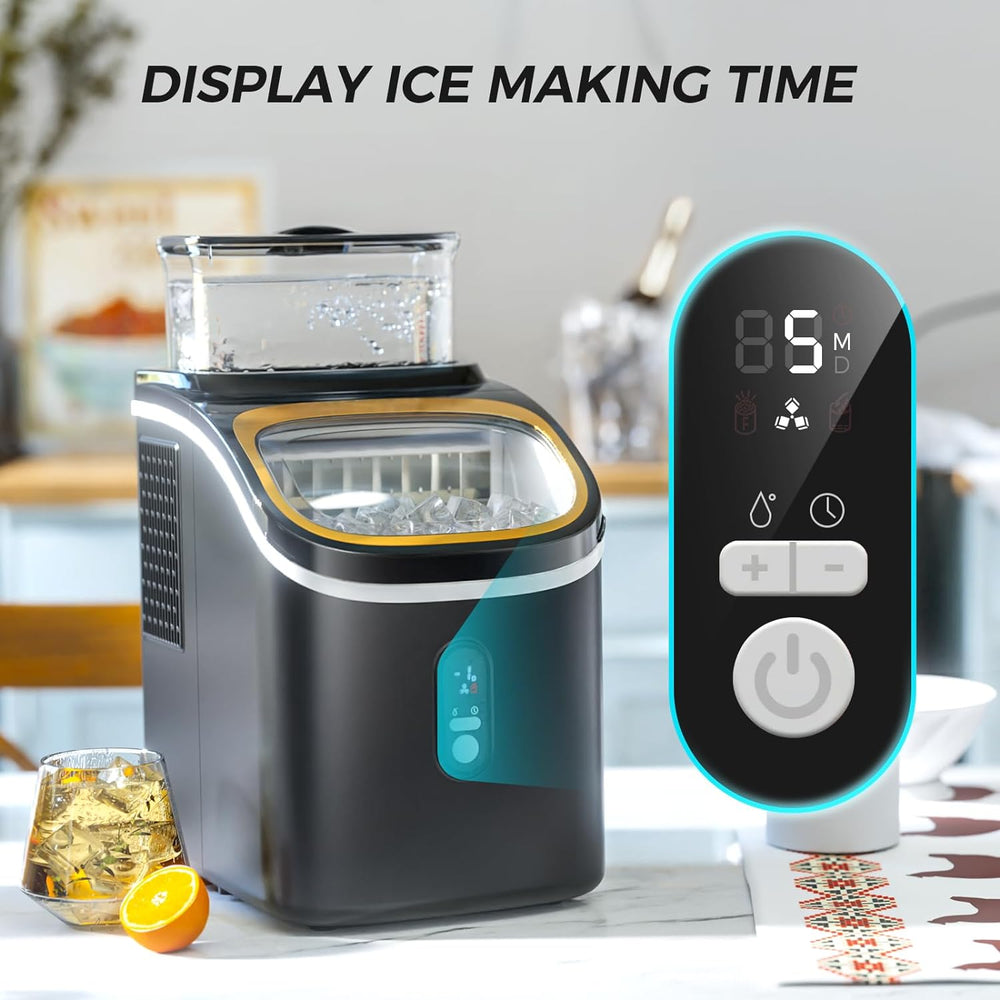
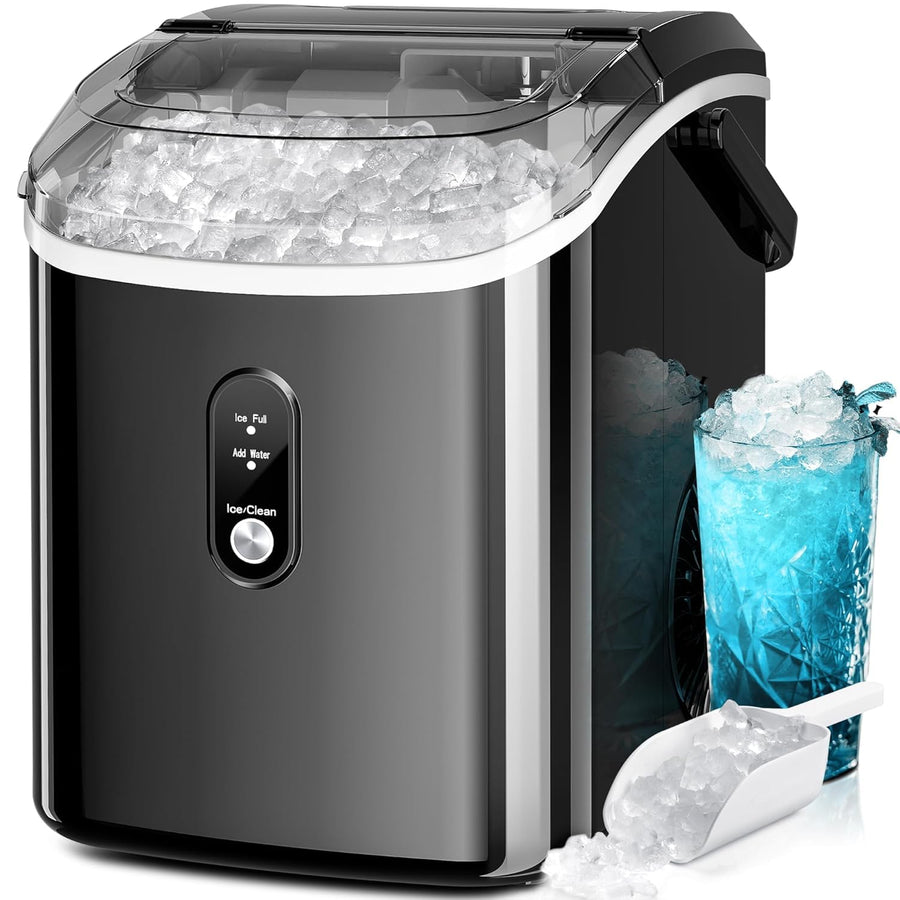
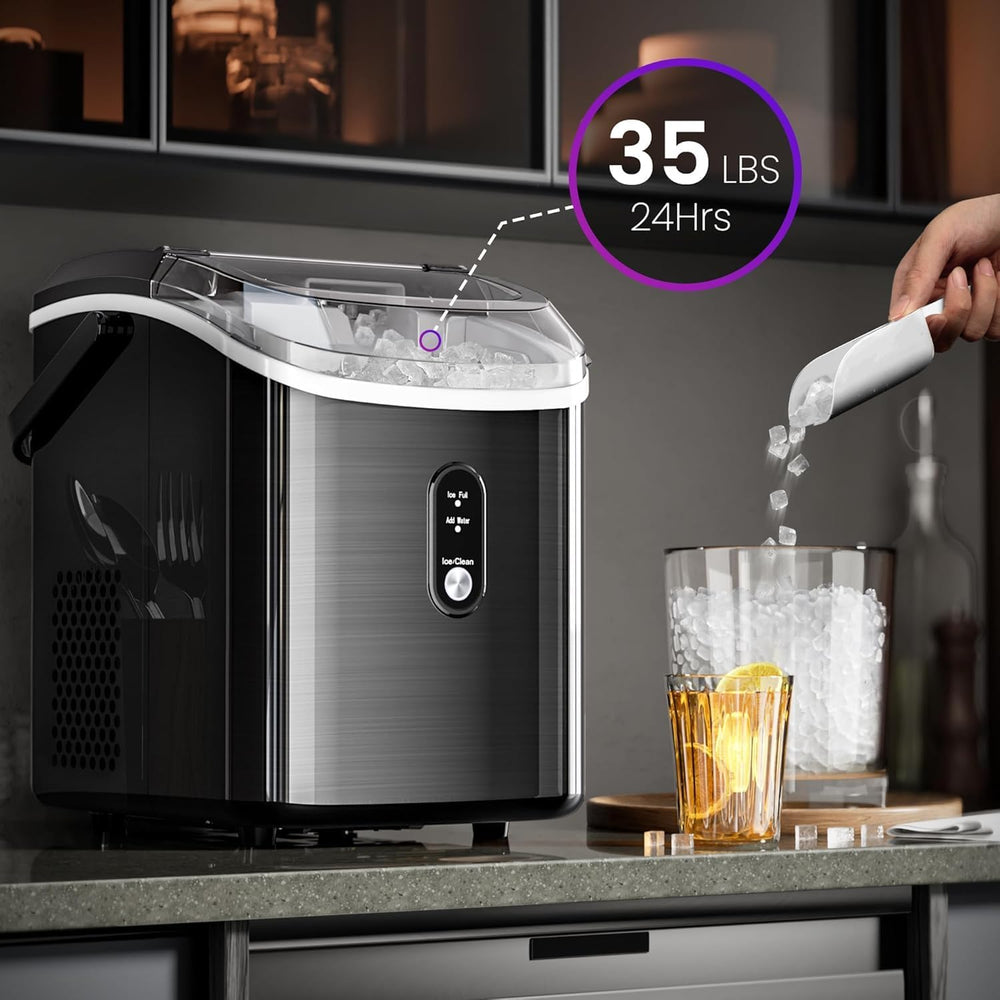
How to use the ice machine correctly
A.Installation
1.Place the ice maker in a well-chosen location, ensuring there is enough space around the machine for future maintenance and upkeep.
2.Install the relevant accessories for the ice maker.
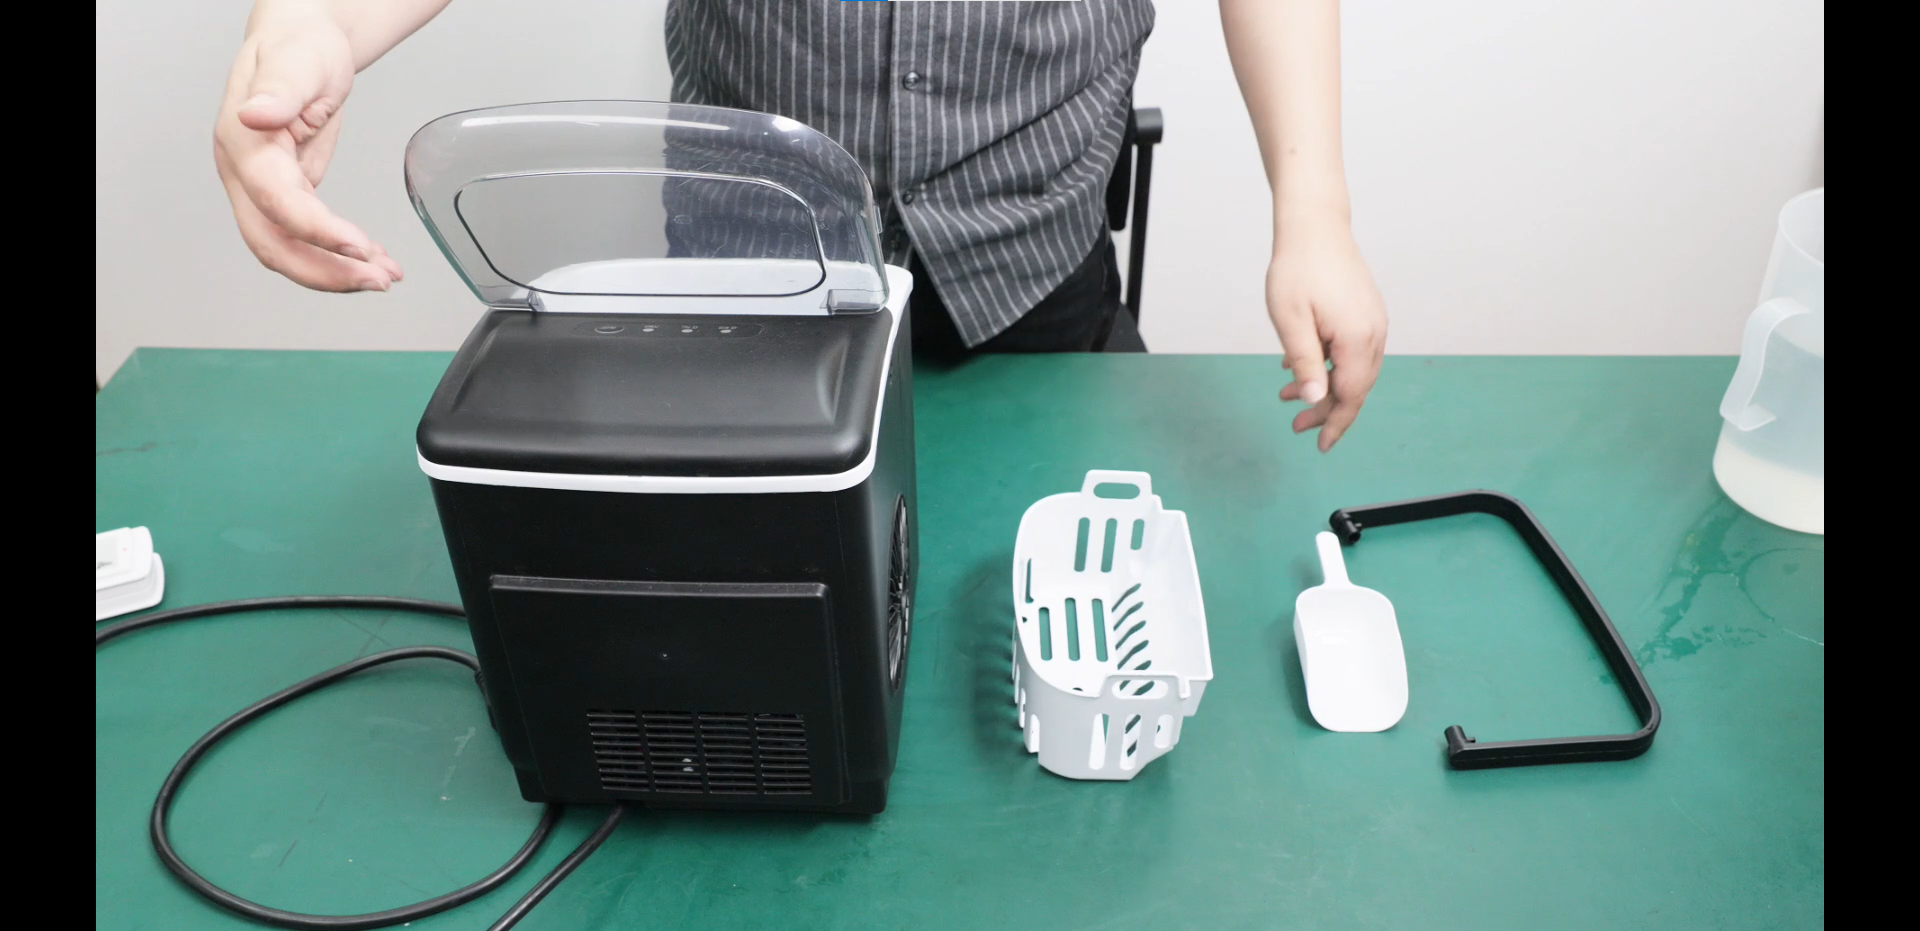
a.Replace the Ice shovel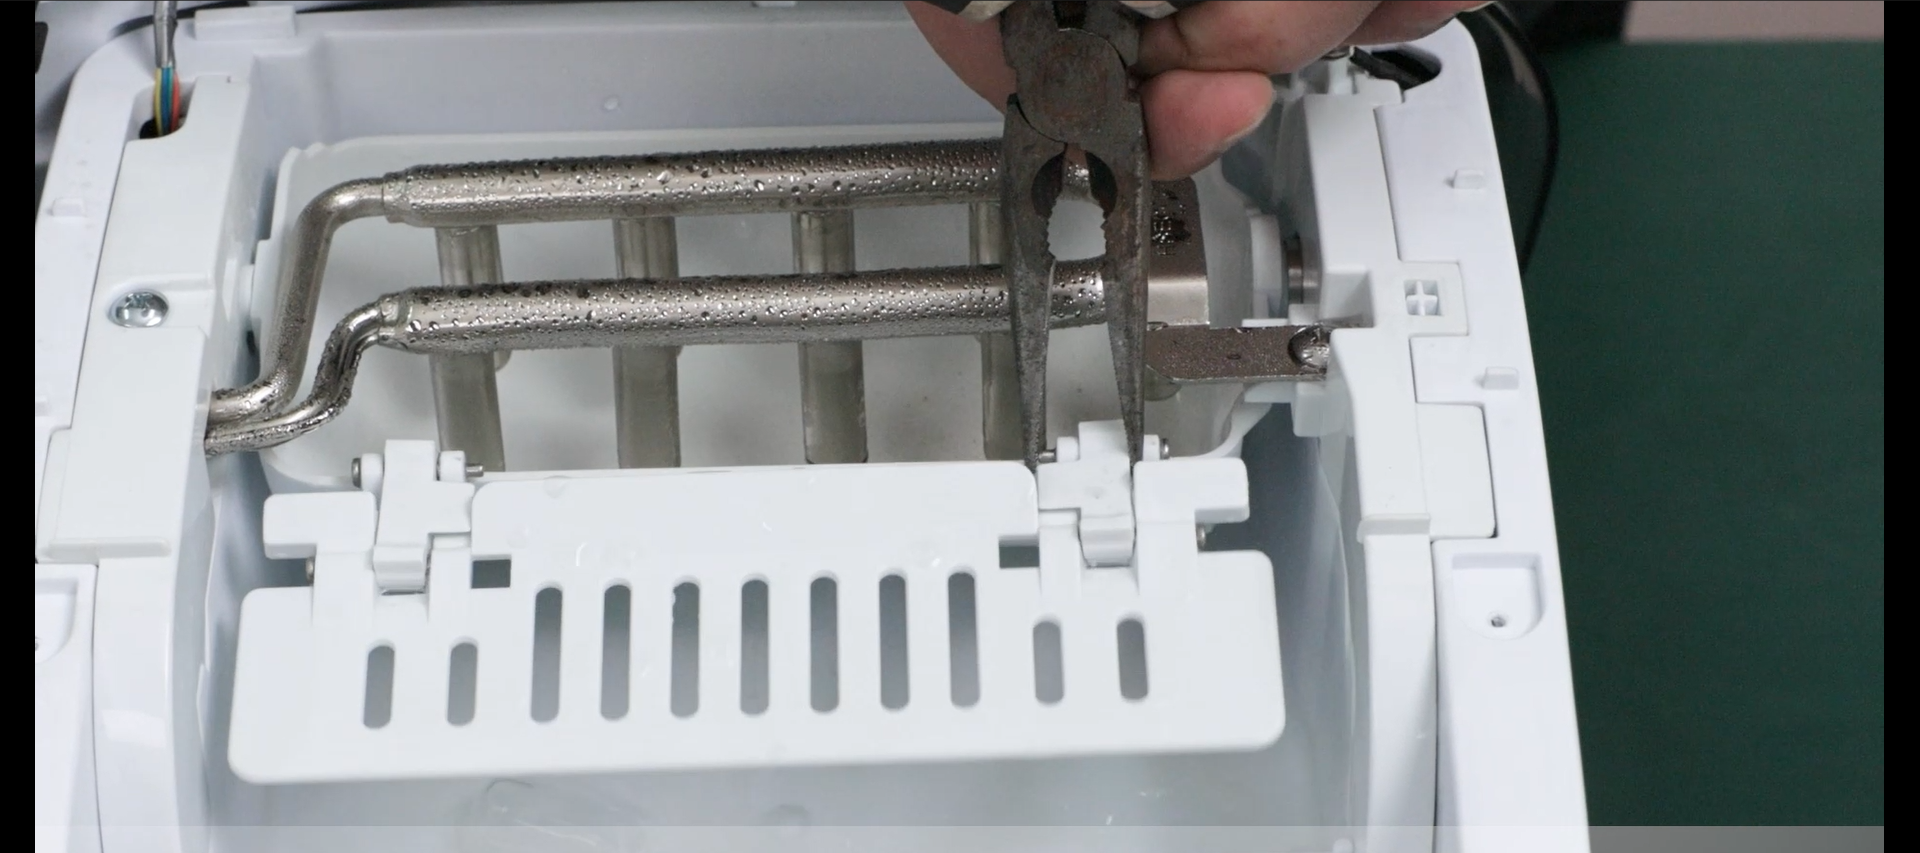
1.Open the back cover of the ice maker and locate the position of the ice tray.
2.Use suitable pliers to help you remove the nails to replace the ice spade
b.Water detector
Please remove the two screws to remove the top cover.Then you can remove the water detector
B.Instruction on using it
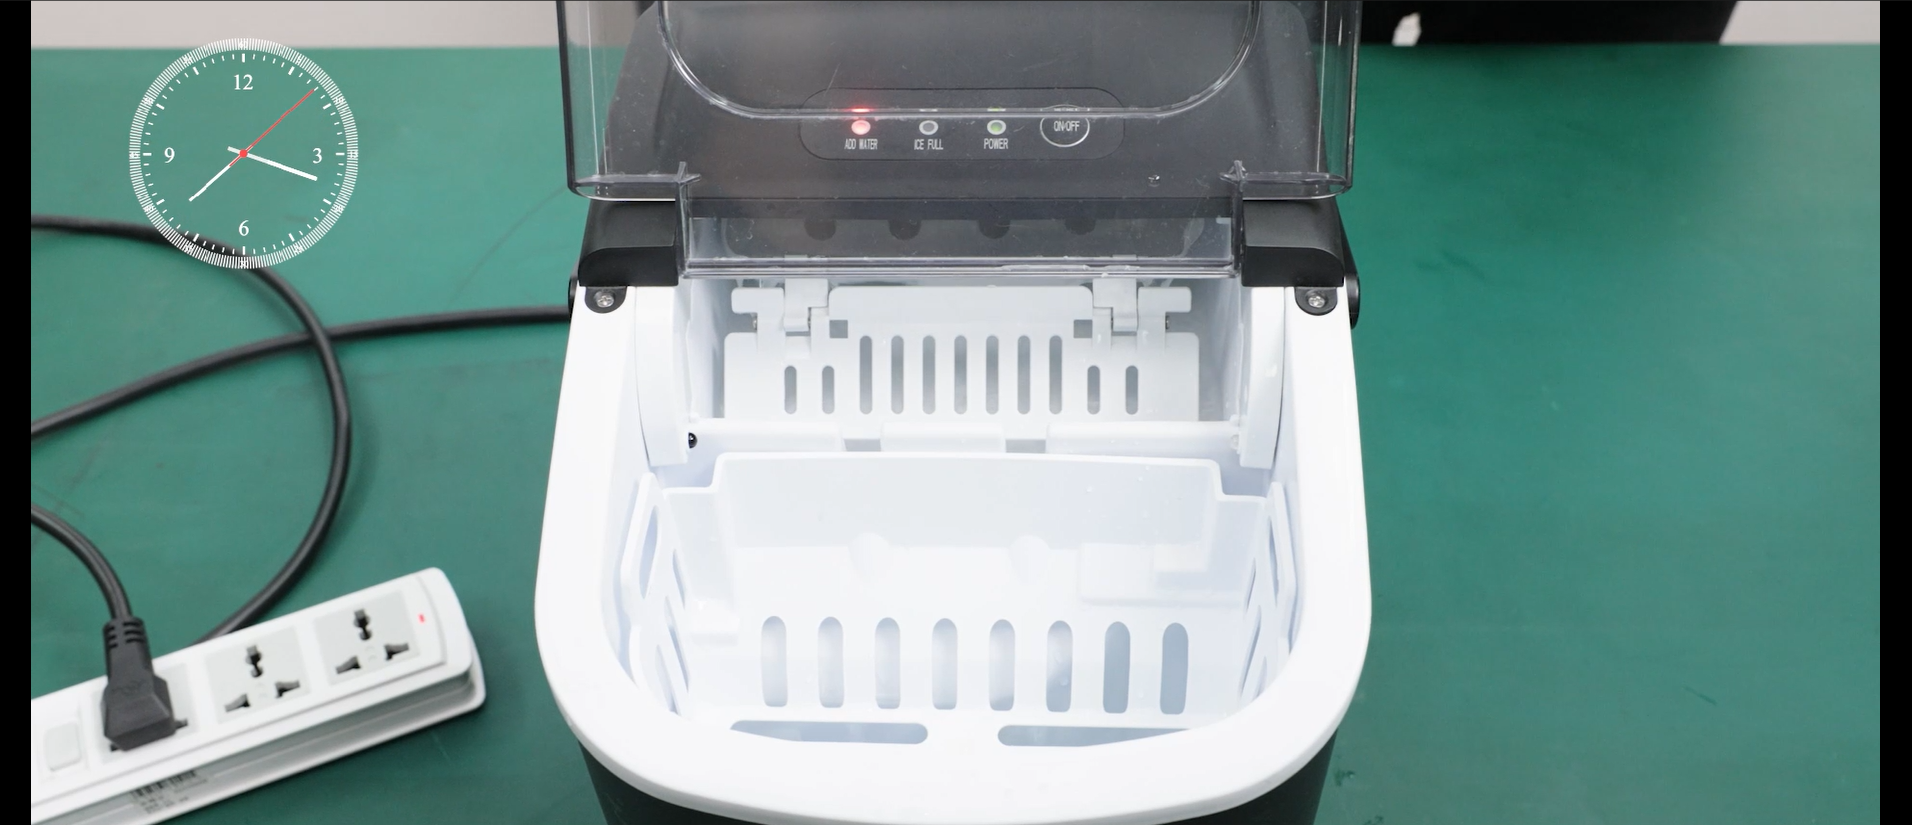
1.Connect the power: Connect the power cord of the ice maker to the power outlet, ensuring a stable power supply.
2.Turn on the water supply: Open the faucet to let water flow into the water pipe. Wait until the water level reaches the "MAX" mark.3.Start the ice maker: Turn on the switch of the ice maker to begin its operation. After powering on the product, the power indicator will remain steady.
4.Remove the ice cubes: After the machine produces ice cubes, use a tool to remove them and drain the water from the ice maker.
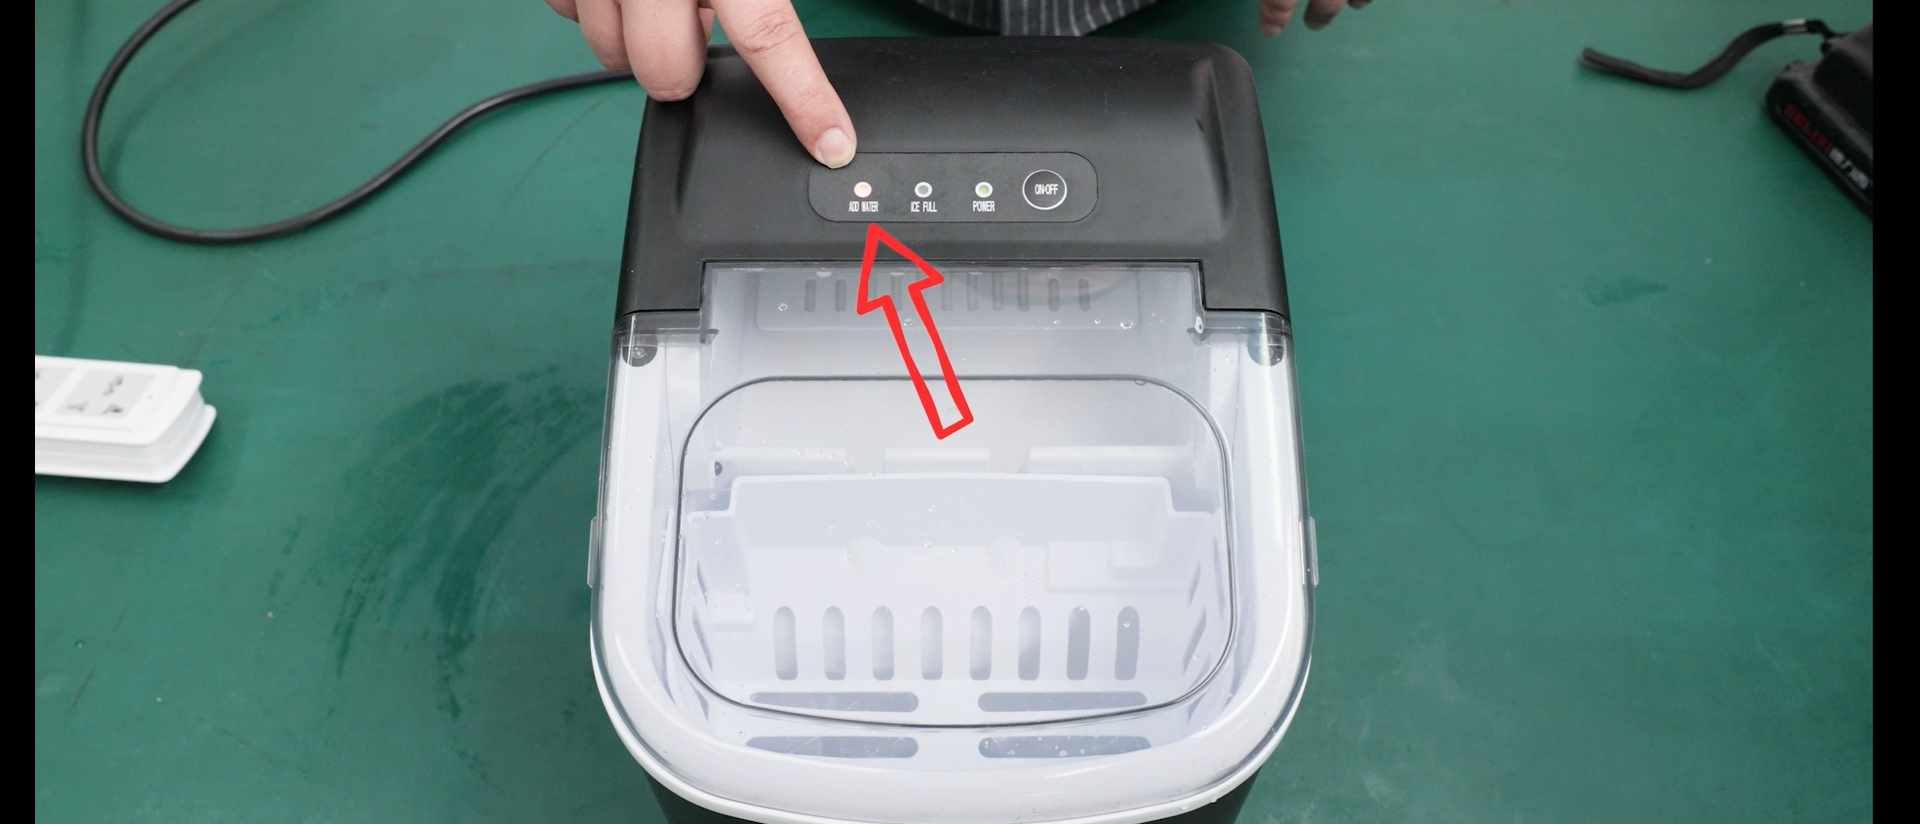
C.Questions you may encounter with
a.Add water alarm
1.Insufficient water level in the water tank: The ice maker produces ice cubes using water from the water tank. If the water level in the tank is too low, the ice maker will display a water refill prompt, indicating the need to add water promptly.
2.Leakage: If water is found accumulating around the base or surrounding area of the ice maker during normal operation, there may be a leak in the water pipe or water tank. In this case, repair or replacement of components may be necessary.
3.Ice-making in progress: During the ice-making process, the ice maker may also display a water refill prompt. This occurs because the water pump continuously supplies water to the condenser, and as the ice cubes gradually thicken, the water pump requires more water to flow into the condenser. Therefore, the ice maker prompts for water refill.
4.Lack of drainage: The ice maker generates a certain amount of water during operation, requiring a drainage outlet or pipe to discharge the water produced during the ice-making process. If there is no drainage or if the drainage is blocked, the ice maker will display a water refill prompt.
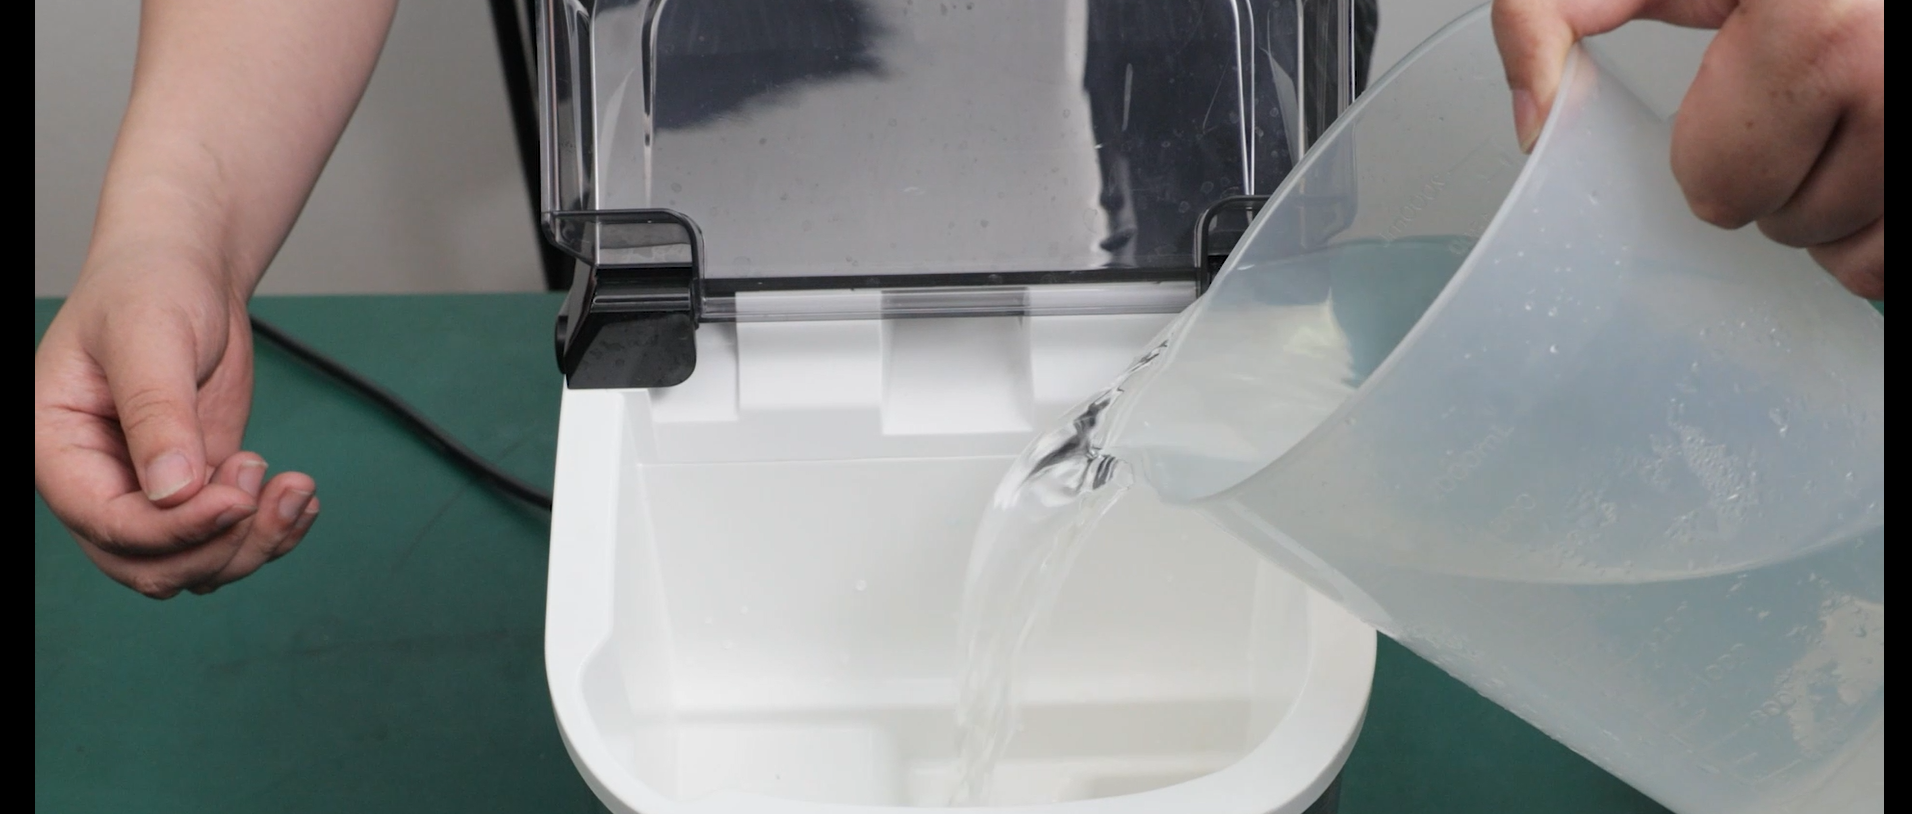
b.Compressor
1.The compressor is running but not cooling: This may be due to refrigerant leakage or improper closure caused by the damage of the solenoid valve. Remedies include checking for the cause of the leak and sealing it, or directly replacing the solenoid valve.2.The compressor is cooling normally, but the water pump is not working properly: This could be due to a damaged water pump or excessive dirt causing blockage. Solutions include cleaning the water pump to see if it operates properly, and if not, replacing the water pump.
D.How to use the automatic cleaning function
1.Press the power button for 5 seconds to enter the ice-making mode, then release the button.
2.After releasing the button, the ice maker will automatically enter the cleaning mode. At this point, the water will full and add water lights will illuminate, indicating that the cleaning mode has been activated.
3.Wait for the ice maker to complete the cleaning process automatically. During this time, you can observe the cleaning indicator light, which typically remains illuminated for a duration between 15 to 30 minutes. The exact time may vary slightly depending on the brand and model of the ice maker.
When the cleaning indicator light goes off, the cleaning process is complete. At this point, you can unplug the power plug and wait for the ice maker to drain any remaining water from the machine. Allow the machine to air dry naturally, or use a soft cloth to wipe clean the cleaning and drainage ports to prevent dirt from accumulating inside the ice maker.
