How to Use an Air Fryer: A Beginner’s Step-by-Step Guide
Check Out These Accessories
After receiving the courier, please check all the accessories contained inside, whether there are a total of 7 items, respectively, 2 different sizes of glass containers, 1 heating pod, 2 containers lids and 2 crisper plate, after confirming that the number is not missing, carefully check the appearance of each item whether there is damage or scratches. or scratches on the outside of each item.
Master the Control Panel
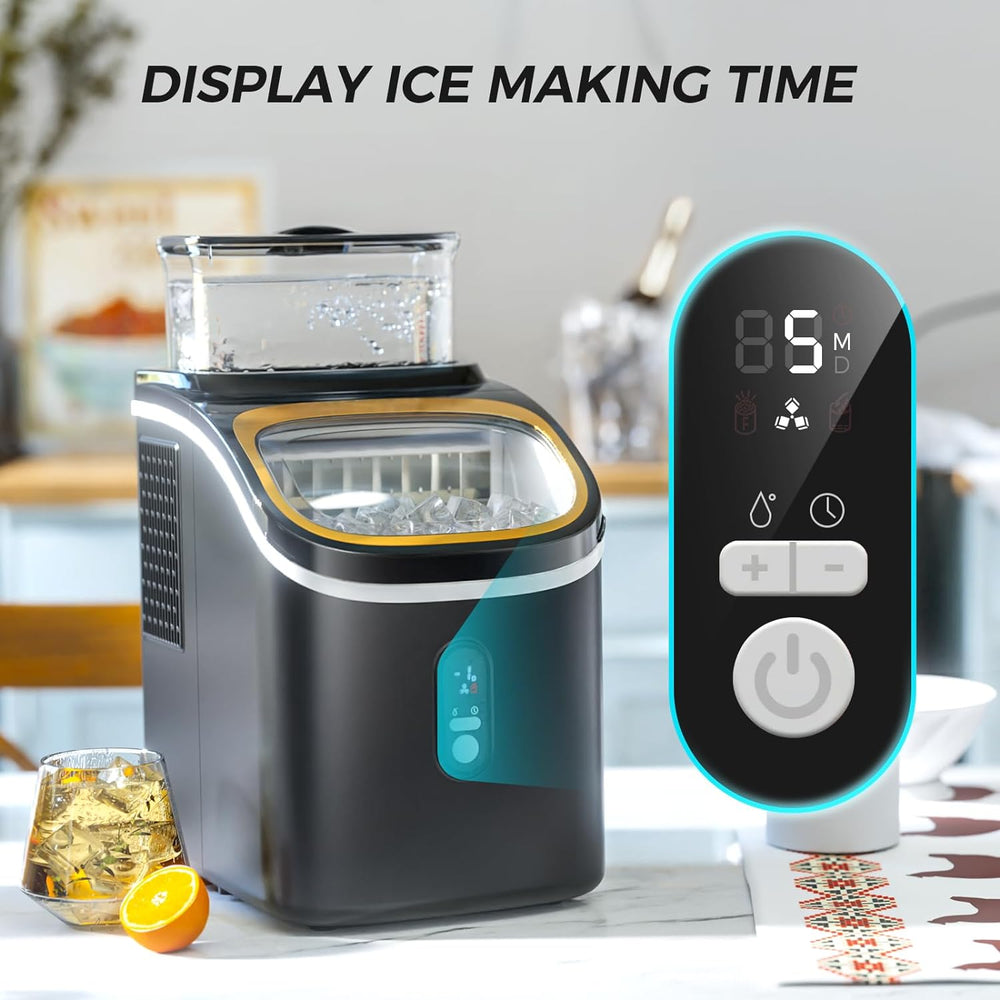
The Kismile ROASTI air fryer is equipped with a digital control panel. After plugging in the power key, press the switch button on the right. The letter "M" on the left represents five different modes that can be selected, and the plus and minus symbols represent the length of time, allowing you to set the appropriate time for different ingredients. For example, when roasting chicken wings or steaks and other meats, it is generally necessary to set it for 10 to 15 minutes; while for ordinary vegetables, it usually only takes 8 to 10 minutes. Therefore, getting familiar with the operation of the digital control panel is an essential step to make delicious food.Essential Steps Before First Use
Before using your air fryer for the first time, it’s important to thoroughly clean all air fryer accessories—this includes the glass bowls, baking trays, racks, and other removable parts (excluding the lid if it contains electrical components). Best air fryer setup starts with a clean cooking environment to avoid any factory residues or packaging dust. To prepare your air fryer before first use, wash these parts with warm soapy water, rinse well, and then gently wipe them dry with a soft cloth. This essential air fryer prep step ensures your meals are safe, clean, and free from odors. Including this task in your air fryer beginner checklist sets you up for successful and hygienic cooking.
How to Use the Air Fryer
Step 1: Prep Your Ingredients
First, wash and cut the ingredients as needed, and then dry the surface of the ingredients or wipe them dry with a paper towel - too much water can easily cause the food to lose its crispness; if necessary, you can gently apply oil or seasoning. Usually, a teaspoon of oil is enough to make a whole basket of French fries or vegetables. Tips: To make the food more crispy, mix in a little cornstarch before frying.
Step 2: Arrange Food in the glass containers
Put the ingredients in a glass bowl and remember not to overheat them - the air needs space to circulate to bake normally. Especially for French fries and chicken wings, the baking time is relatively long, and the noodles must be turned or stirred many times in the middle to ensure the taste.
Step 3: Set Time and Temperature
You can refer to the instruction manual of the air fryer. After the ingredients are ready, cover the power supply cover, turn on the switch and choose one of the five suitable modes, and then set the time to time. After baking, automatic insulation will be set.
Step 4: Shake or Flip Midway
Halfway through cooking, click the switch mode again to turn over the ingredients, so as to ensure that all sides can be baked evenly. You can also observe the state of the ingredients through the glass bowl to avoid baking the surface of the ingredients due to excessive heating.
Step 5: Serve and enjoy
Let the food stay hot and add seasoning or sauce at the same time. Enjoy it immediately to get the most crispy effect. When eating fried snacks, you can use paper towels to remove excess oil if necessary. If you can't finish the food, you can put it back in the glass bowl to keep it warm to avoid wasting food.
Must-Know Air Fryer Do's and Don'ts
- Make sure that the power cover is installed correctly before use.
- You need to choose glass bowls of different sizes according to the amount of ingredients, 2.6 or 4.7 quarts.
- The Keep warm mode is only applicable to cooked ingredients, not to raw or frozen food (only deep roast mode can be used to bake)
- The device is paused in the middle, and the screen will automatically turn off after 5 minutes.
How to Cleaning & Maintaining
After using your air fryer, always allow it to cool down for at least 30 minutes before starting any cleaning routine. This is essential for both user safety and effective maintenance. To perform a deep clean of your air fryer, make sure to remove the basket and tray first. Then, when cleaning the base of the air fryer, you can open the water drain plug located at the bottom. This step helps you remove grease, oil residue, and trapped moisture, ensuring that the internal compartment stays clean and odor-free. Regular air fryer maintenance like this not only prolongs the appliance's life but also keeps your food tasting fresh. For best results, include this process in your weekly routine as part of your air fryer cleaning checklist.


